-
Pantry Porn - Sniper style!
I've made reference a couple times about the renovations that I've been doing to my pantry. I thought I'd throw up a few pics for your perusal. I only took a few prior to the start, and then again at completion, as I didn't want to have the camera out in the drywall dust.
I use the term 'Pantry' with a grain of salt. The only thing that makes it a Pantry, is the pile of food that is in there. lol
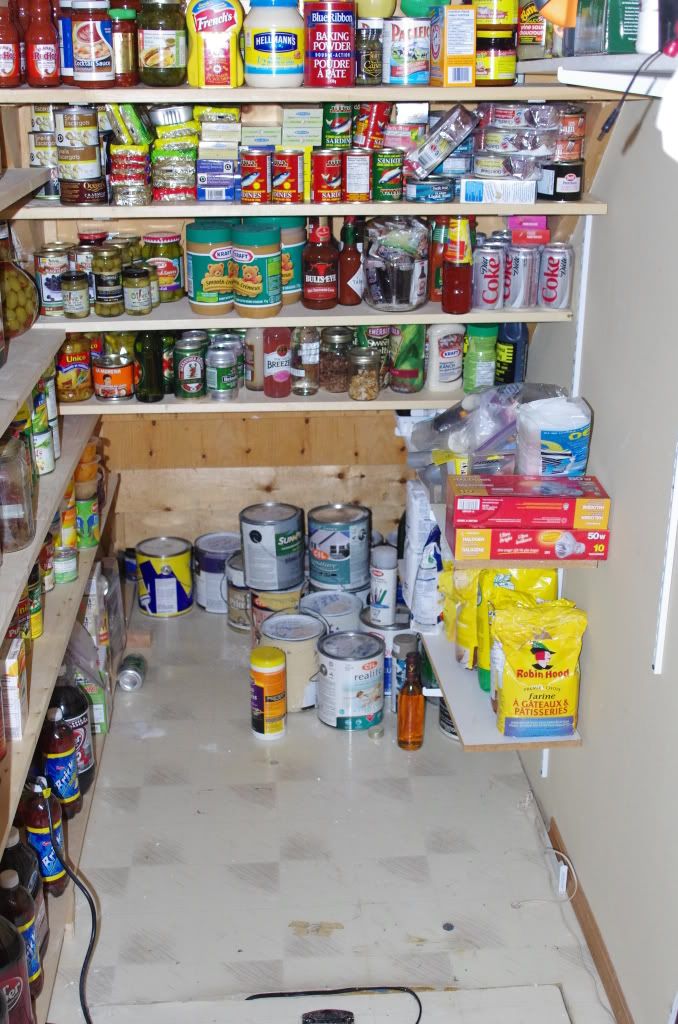
My house is an open concept design, so there aren't too many rooms, nor closets etc, so I need to make use of all the space I can. My pantry is basically the space under my stairs. which we initially used for brooms/mops/vaccuum, etc. It was just a jumbled mess, That things kept getting shoved into. The access to my crawlspace is in there too, so I have to keep a goodly chunk of floor space open in case I need to get down to my furnace or something.
This reno has been a work in progress, with additional things added as needed. The first thing I did was put up a couple shelves on the right side. Which almost immediately became inundated with stuff, and have looked basically like this for the last 3 years:
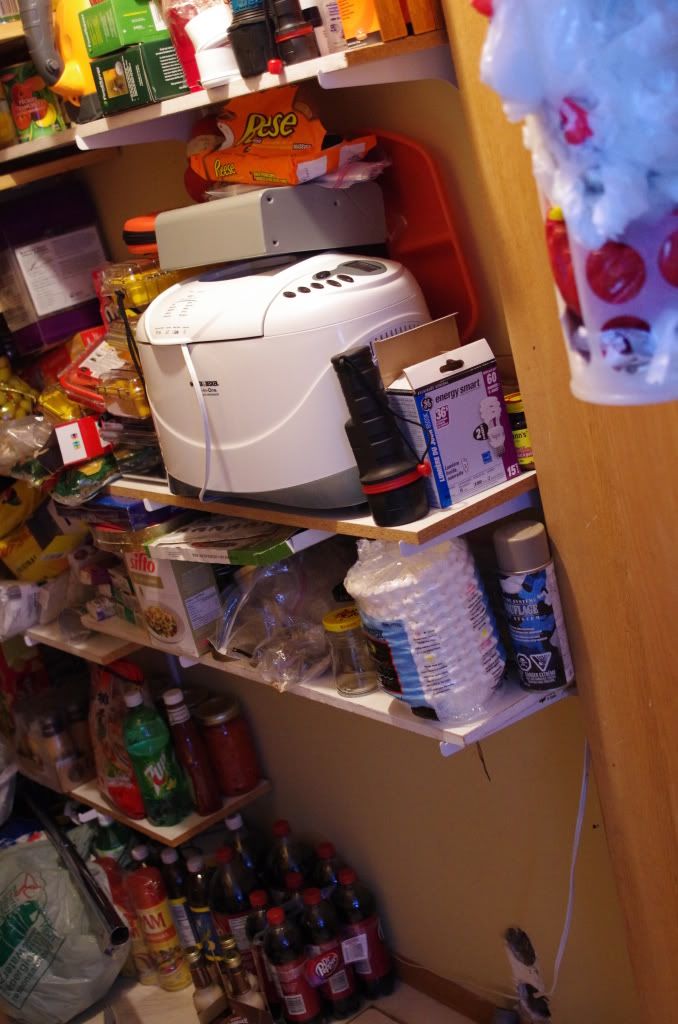
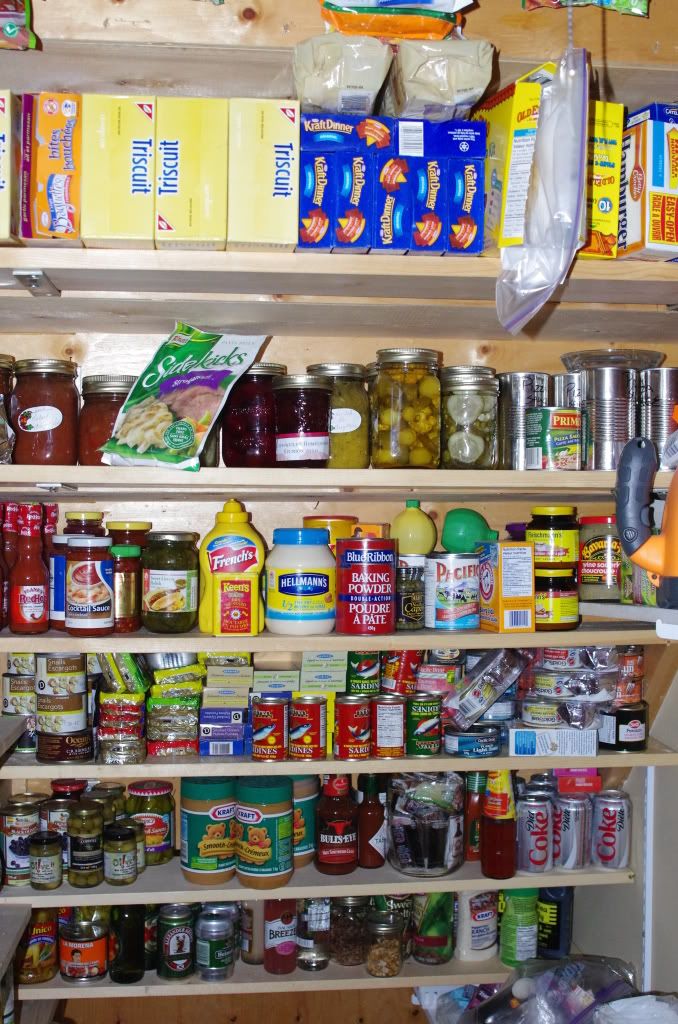
Since that didn't really do much for enticing my wife into prepping and stocking MORE stuff, I added more shelves. This time I decided to utilive the back of the stair risers themselves. screwed in some angle brackets and put up a series of shelves:
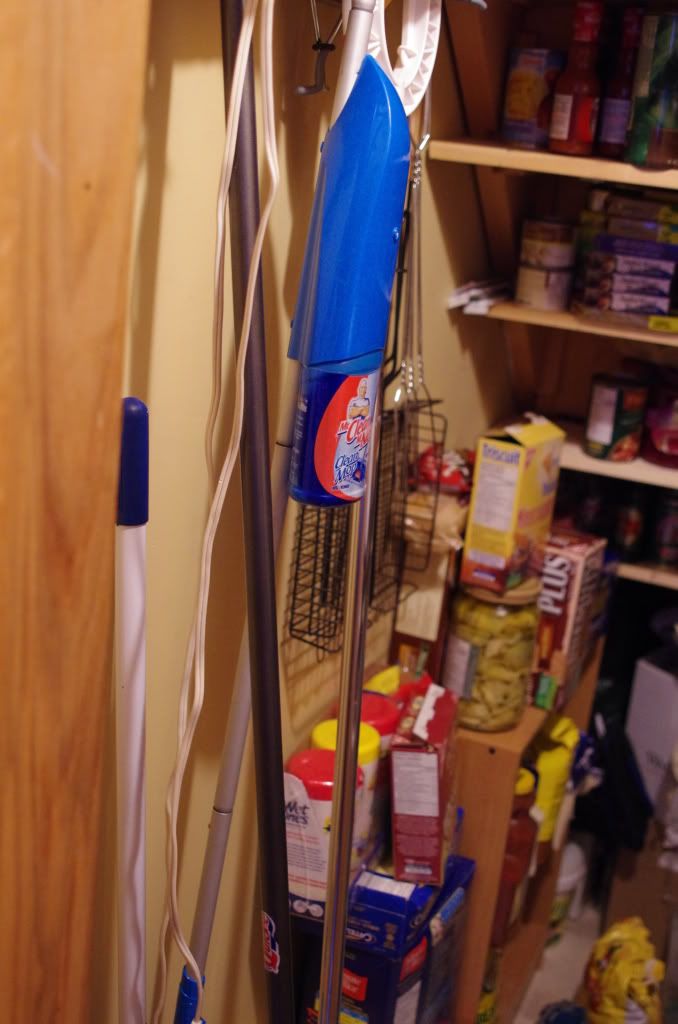
And that left me with the right wall, where I just put up some hooks for the mops etal, and a little bookshelf which was crammed full of stuff too. Note that the wall behind the mess is drywall, and there is only a few inches of room available for the most part because of the hatch in the floor. So I couldn't put shelves on that side even though I wanted to:
Or... could I...
Taking a page from a bookshelf I built upstairs, I ripped the drywall off that right wall, so I had exposed studs and the back of the drywall that was my living room wall. I was stuck with a couple of outlets in the way, as I didn't want to punch new holes in the living room wall, and then have to patch and repaint in there.
So I picked up a bunch of 12" shelves, and ripped them down to just under 6" each, which was the biggest I could go without interfering. I then notched them to fit around the studs, and secure them with angle brackets:
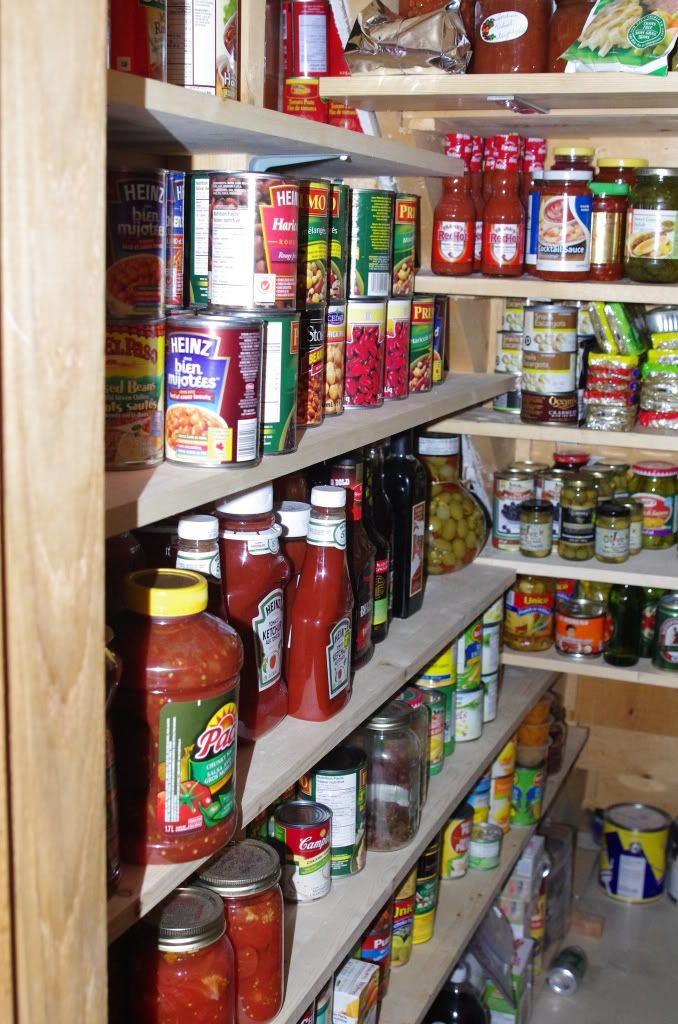
The studs actually came in handy, and act as natural dividers for different types of food. This allowed me enough room to empty out my big kitchen cabinet, and dedicate a few shelves in there to drygoods such as pasta and rice.
Here's a shot of it as it sits now, with the exception of the vaccuum that got added in in the back:
 Posting Permissions
- You may not post new threads
- You may not post replies
- You may not post attachments
- You may not edit your posts
-
Forum Rules


 Reply With Quote
Bookmarks